Saturday, October 26, 2013

The No Excuses List

By the time my friends reach 4th and 5th grade, there are some things that should be non-issues. There are some things I should not have to spend instructional time on.  Basics.  Thus was born the No Excuses list.


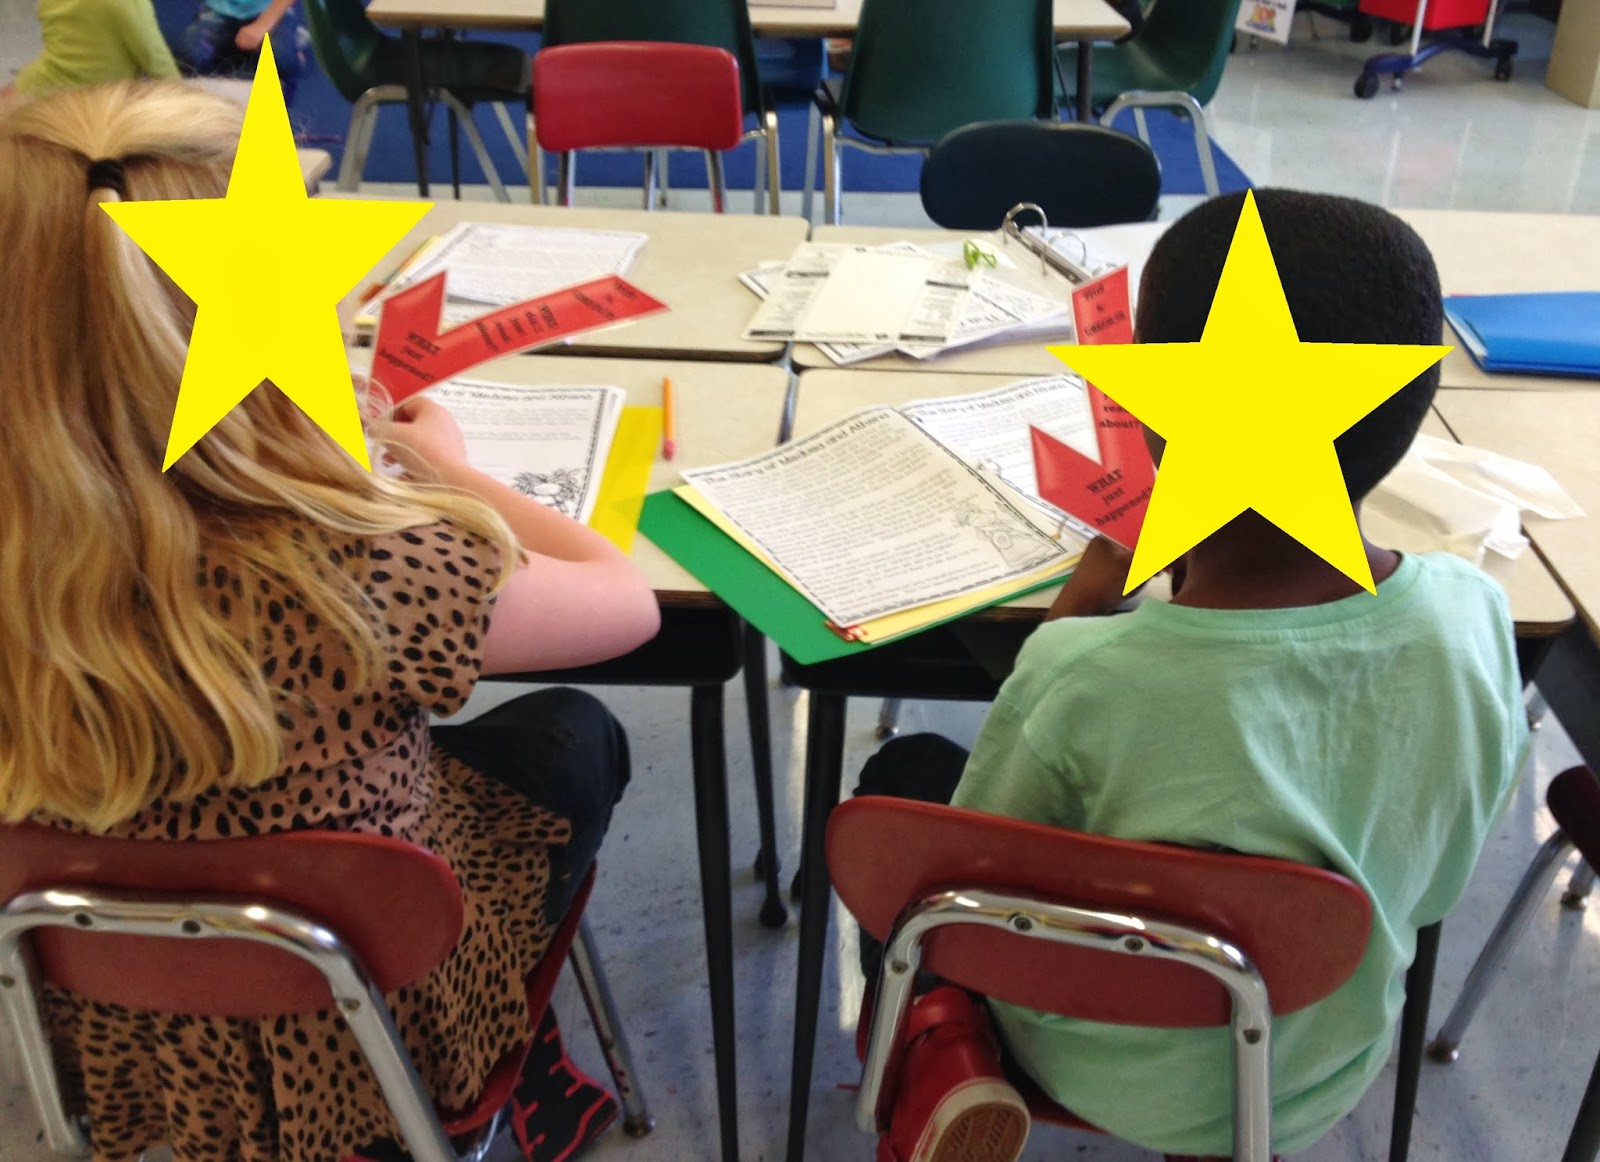
Each year, after the first couple of weeks of school, I do a quick intro to the No Excuses list. This is a chart of things that, by the time they get to 4th or 5th grade, a student can reasonably be expected to be responsible for doing.  Things like starting sentences with capital letters and putting endmarks on sentences.  It is not unreasonable to expect those things of my students.  However, I find so many of my friends do not have automaticity with them.  They should be no-brainers, but my friends have shown (year after year) to be very lax in doing them.

To intro the chart, I have the chart done with just the title.  I explain what a No Excuses list is. I tell them that this chart will have on it the things that we know every 4th and 5th grader has been taught in previous grades and can be expected to do when reading or writing.  These are things your teacher this year should not have to teach again because you learned, practiced, and did them in 1st, 2nd, and/or 3rd grade.  I then have the kids brainstorm a list of what they would put on the chart.  THEY KNOW!  They know what they should be doing!  Without fail, every year, they come up with the exact things we need to have on our list.

I usually start with the top two; capitalizing sentences and using endmarks/end marks. (I always write endmarks as a compound word. I've seen it both ways band have just always written it as a compound word. Spell check does not agree!) We add teach item to the chart and in the bullet, put the date we add them to the chart. On my chart, the 27th and 28th were actually both added on the same day, but I was talking and writing at the same time and wrote the 28th by mistake.  Except for those two items, I usually add items one at a time with at least a week or two between adding an item to the chart. This gives my friends time to work on each without being overwhelmed.


What makes the chart work is the rule.  Once it is on the chart, from that date forward, it is expected to be done on all work. No Excuses!  If a paper is turned in with any of these errors, the student will get the paper back to fix or redo. Or, if I notice it on the paper before they turn it in I will say that I can't accept that paper and they need to check the No Excuses chart.   I find that it is usually not that kids can't do these things.  It's more that we don't, at some point, draw that line in the sand and say, "Okay, this is now on you!  You have been taught and/or retaught these things year after year and now it is your responsibility to do them without being told. No excuses!"  I know this might sound harsh to some, but I promise you after just a couple of weeks you will see a dramatic drop in students forgetting to do these basic things.  I find the key for me is to stick with the expectations and be consistent in not accepting work that doesn't meet the standard.

Now, I also know there may be some students you need to make exceptions for.  But, in general, if something makes it on to your No Excuses list, everyone is usually expected to do it.  What you have on your list can be tailored to the grade level, students' abilities, and the expectations you set in your classroom. You know your students best, so you have to create a list that works for you. The list can be added to as the year goes on, but I generally focus on things that have been taught in previous year(s) and are reasonable expectations of my students.

Is this something you think would work in your classroom?  
What would be on your No Excuses list? 
Or, do you handle this issue in another way 
that might be good to share?

Saturday, October 19, 2013

A Techy School-Wide Halloween Costume Idea

I saw this picture on Pinterest.  
It's from a post on Popsugar about cheap and easy Halloween costumes.


It got me thinking this would be a great school-wide teacher costume.  
What if everyone was a different education app?  
Teachers at each grade level could be apps most useful for that age group
Admin, secretaries, and other non-teacher school personnel could be apps for parents 
such as ones that provide info on common core, homework timers, etc.

Then, at the end of the day you could send home a list to parents 
of all the apps with a quick blurb explaining each.

It really is a quick, cheap, and easy costume idea 
with the added benefit of encouraging technology and parent communication.

The boards are also small enough that after Halloween they could be 
mounted as a big bulletin board in the school.

Just a thought!  

Saturday, October 12, 2013

Carpet Manners - FREEBIE

I have a nice, big carpet in my meeting area for my friends to sit on.  When I had a full class of 5th graders, we always had to sit close together.  The biggest problem was making room for each other and keeping our hands and feet to ourselves.

This year, I meet with about eight students on the carpet.  That would be eight students max.  This leaves plenty of room to spread out and create some new problems that I never really had with a full class.  Problems like kids sitting way at the back of the carpet no matter how many times I remind them to move up.  I even had one child rolling around on the carpet during the lesson. Rolling as in tucking his legs and arms and rolling like a Weebles from one end to the other!  This called for some carpet rules STAT! Here's the poster I made that is taped to the bottom of my chart stand.


Rather than come up with more rules, I went with carpet manners. Manners sends the message that it is all about being polite to others and ready to learn!  I'm sure we all have different behaviors we expect, but for my kids these seemed to be the ones that were most needed.


1. Sit Pretzel Style - There was a lot of lying down on tummies or on their sides with head propped up in their hand.  I'm okay with this for some carpet work but not when I'm giving direct instruction.  We also sit M&M style sometimes, but I didn't add that to the poster.  This is an example of what we call M&M sitting, even though its just one M:

I think it is sometimes called a W position, but M&M sounds more fun!  I have some kids that prefer to sit this way.  Honestly, I would have to break some bones to make my legs do this now!  :-) It is totally for young knees only!

2.  Face the Speaker - This means the teacher or turning to any other person speaking. With my small group, we usually sit in a semi-circle so that helps this work a lot.

3.  Place Materials in Front - Notebooks, pencils, novels, etc. sit on the carpet in front of you until needed.

4.  Listen Actively - I had fun modeling what active listening does and does not look like with the kids.  They were completely offended when I turned away from them and started looking around the room or looked down and began playing with my shoes while they were talking to me! Got my point across rather quickly!

5.  Raise our Hands to Speak - I don't always need this one as with such small groups we often have more natural conversations that don't require hand raising.

The poster is just a Word document on two pages that I printed, taped together, and laminated.  If you would like a copy of Carpet Manners for your own, you can download it by clicking HERE.

Thursday, October 10, 2013

Check Marks to "Stop and Check-In"

Me:  You just read this page.  Can you tell me a little about what you know?
Student: Ummmmm. . . . (Insert wait time here.)
Me:  I know you were really interested in reading this book when you chose it.  Who did you read about on this page?
(Insert more wait time.)
Student:  A boy? (Yes, answered as a question.)
Me:  Hmmm, can you tell me a bit about the boy? What was he doing?
Student: Ummmmm. . . . 
(Insert lots more wait time here to be followed by 
major prompting that led to more answers phrased as questions.)

And, this would be why we revisited the "Stop and Check-In" strategy yet again! I find that my friends (reluctant readers) have a habit of reading straight through without really stopping to check comprehension. This led me back to revisiting the Stop and Check-In strategy.  

It is always amusing to me that I really have to explain why this strategy is so important for reading. In explaining it, I try to find a way to make it relatable to them so it isn't just another thing a teacher tells them they should do when reading.  I asked my friends to imagine that they had broken their favorite game system. They take it to be repaired, but the two repairmen have never fixed one before.  So, they promise they will read up on it and learn how to fix it.  One repair man reads the book but doesn't really understand what he's reading.  He decides to just keep reading and hope he understands at the end.  The other repair man stops every couple of pages to make sure he understands what he read.  Only when he thinks he understands does he keep reading.  The next day, both offer to fix your game system.  Who do you want to fix it?

Without fail, every single student wants the man who stopped and checked-in while he was reading to fix their game system.  When I ask why they tell me all the wonderful reasons that make this strategy so helpful to them  He will remember what he read.  He understands what he read, so he will know how to fix it better.  The other guy will mess it up because he didn't understand anything.  From there, it is so easy for them to connect how this same strategy helps them as readers and test takers. I sort of hate that I have to even mention the latter, but it seems to be our reality these days.

To make the strategy more concrete, I made check marks using two basic questions as found in The Cafe BookWho did I just read about? What just happened? Two short and sweet basic questions that force them to self-monitor and check for comprehension. Here's a link to their Ready Reference Form that explains the strategy in-depth. 

The Cafe sisters had a parent make balsa wood check marks, but seriously? How many of us can do that?!! I don't think I would even want that.  Mine were made using clip art and text boxes.  I just printed them on card stock and laminated them.  The laminating turned out to be especially important.  One of my poor friends has been a sneezing, snuffling, nose-drippy mess all week and my check mark was certainly not spared! I actually took the laminated check mark to the bathroom to wash before using it with the next group! Here's to hoping my little friend is feeling better soon. 

I modeled the strategy with a friend first.  Then, when it came time to practice, we used one of our reading selections in which we marked stopping points.  Then, I paired up each student.  Student A read aloud to student B.  When they reached the stopping point, student B would hold up their check mark and say, "Stop and Check-In!"  Student A would then briefly retell by answering those two questions.  Student B had to listen to make sure student A didn't leave anything important out or misinterpret what was read. If that happened, they helped out. They would then switch roles for the next section of text.

I'm well aware that I'm not sharing anything new here. Many others have blogged about it before this. The strategy has certainly been around forever, but it is well worth mentioning as it is so very effective.  I think that the physical action of holding up the check mark and saying, "Stop and Check-In!" aloud was especially helpful to my friends.  It helped to cement the idea in their minds. 


We then used the strategy independently the next day with their independent reading books which had sticky notes placed at strategic stopping points.  They did a quick jot on the sticky to stop and check-in when they got to that point.  A quick and easy way to assess how well they are using the strategy.

Unfortunately I can't share the bookmark I made because it wasn't until after I made, printed, and laminated them that I saw the check mark had a very, very, very faint watermark.  But, I did search for some that you might like.
If none of these work for you, it really couldn't be easier to make your own. You could even draw one on card stock using colored Sharpies.  Quick and easy!


Thursday, October 3, 2013

My Room

So, is doing a classroom reveal a month after school actually started a little like wearing white pants past labor day? I've been a total slacker when it comes to posting this past month which means room pics in October.  Sorry!  It would be great if I could say my room is done.  I'm actually about 90% there, and that's probably as good as it will get this year!  I do have a big area behind my meeting table that needs some serious straightening. Maybe in all my free time. . .  someday!

The pictures below were taken over a few different days, so that would explain why the lighting might be different or some posters might be different. I'm not going to bore you with lots of captions and explanations. Instead, I'll bore you with lots of pictures! :-) Here's a general view of the room.


~~~~~~~~~~~~~~~~~~~~~

Here's a little spotlight on some silly things about my room that make me happy.

Rubber ducks reading from Oriental Trading.  These twelve ducks sit on one of my windowsills.
 If ducks can read, so can you!

Lego blocks in my hand sanitizer for no good reason other than it's fun. They are suspended in the gel.  I have actually had to do a quick explanation on why they don't sink more than once.  This is probably the first thing kids notice when they come in my room for the first time.  

READ BOOKS.  My sister found these wooden words in Marshall's on the discount shelf.  I imagine, other than a teacher or librarian, there aren't many people who would know what to do with these. 
That probably explains them being on the discount shelf! 
But, they are perfect for a classroom where the only subject taught is reading.

The little boy I drew on my Self-Monitoring anchor chart last year. I love it because last week a little boy walked in to my room for the first time ever.  He looked at the poster and with a huge smile and wide eyes said, "That looks just like me!"  My mom is Spanish and darker skinned.  I remember growing up being very aware that none of the families in the books we read in school ever looked like my family. Never mind actually having posters in my classroom that were culturally diverse.  It made me very happy to have that little boy come in and immediately find something he could identify with.  Even if it is just a cartoon drawing.


Pumpkin chair covers from Dollar Tree.  A little bit of Halloween fun.

My picture book shelf.  These are just a few of the picture books I use.  In fact, I'm still looking for a box of picture books that must be tucked away on a shelf.  I have one in particular in mind that will be perfect for one of my students, Bad News for Outlaws.  I  know it will totally hook my reluctant reader friend.  
Now, if I could just find it!

So, that's the room this year.  
~~~~~~~~~~~~~~~~~~~~~~~~


So far, I like it.  It has a lot of helpful information for those not totally comfortable teaching small groups or without a lot of experience teaching reading this way.  However, even being experienced with it, I am also  finding a lot of good tips.  I'll try and post more about it when I'm done.

Hope your school year has gotten off to a great start!