Showing posts with label back to school. Show all posts

Thursday, October 3, 2013

My Room

So, is doing a classroom reveal a month after school actually started a little like wearing white pants past labor day? I've been a total slacker when it comes to posting this past month which means room pics in October.  Sorry!  It would be great if I could say my room is done.  I'm actually about 90% there, and that's probably as good as it will get this year!  I do have a big area behind my meeting table that needs some serious straightening. Maybe in all my free time. . .  someday!

The pictures below were taken over a few different days, so that would explain why the lighting might be different or some posters might be different. I'm not going to bore you with lots of captions and explanations. Instead, I'll bore you with lots of pictures! :-) Here's a general view of the room.


~~~~~~~~~~~~~~~~~~~~~

Here's a little spotlight on some silly things about my room that make me happy.

Rubber ducks reading from Oriental Trading.  These twelve ducks sit on one of my windowsills.
 If ducks can read, so can you!

Lego blocks in my hand sanitizer for no good reason other than it's fun. They are suspended in the gel.  I have actually had to do a quick explanation on why they don't sink more than once.  This is probably the first thing kids notice when they come in my room for the first time.  

READ BOOKS.  My sister found these wooden words in Marshall's on the discount shelf.  I imagine, other than a teacher or librarian, there aren't many people who would know what to do with these. 
That probably explains them being on the discount shelf! 
But, they are perfect for a classroom where the only subject taught is reading.

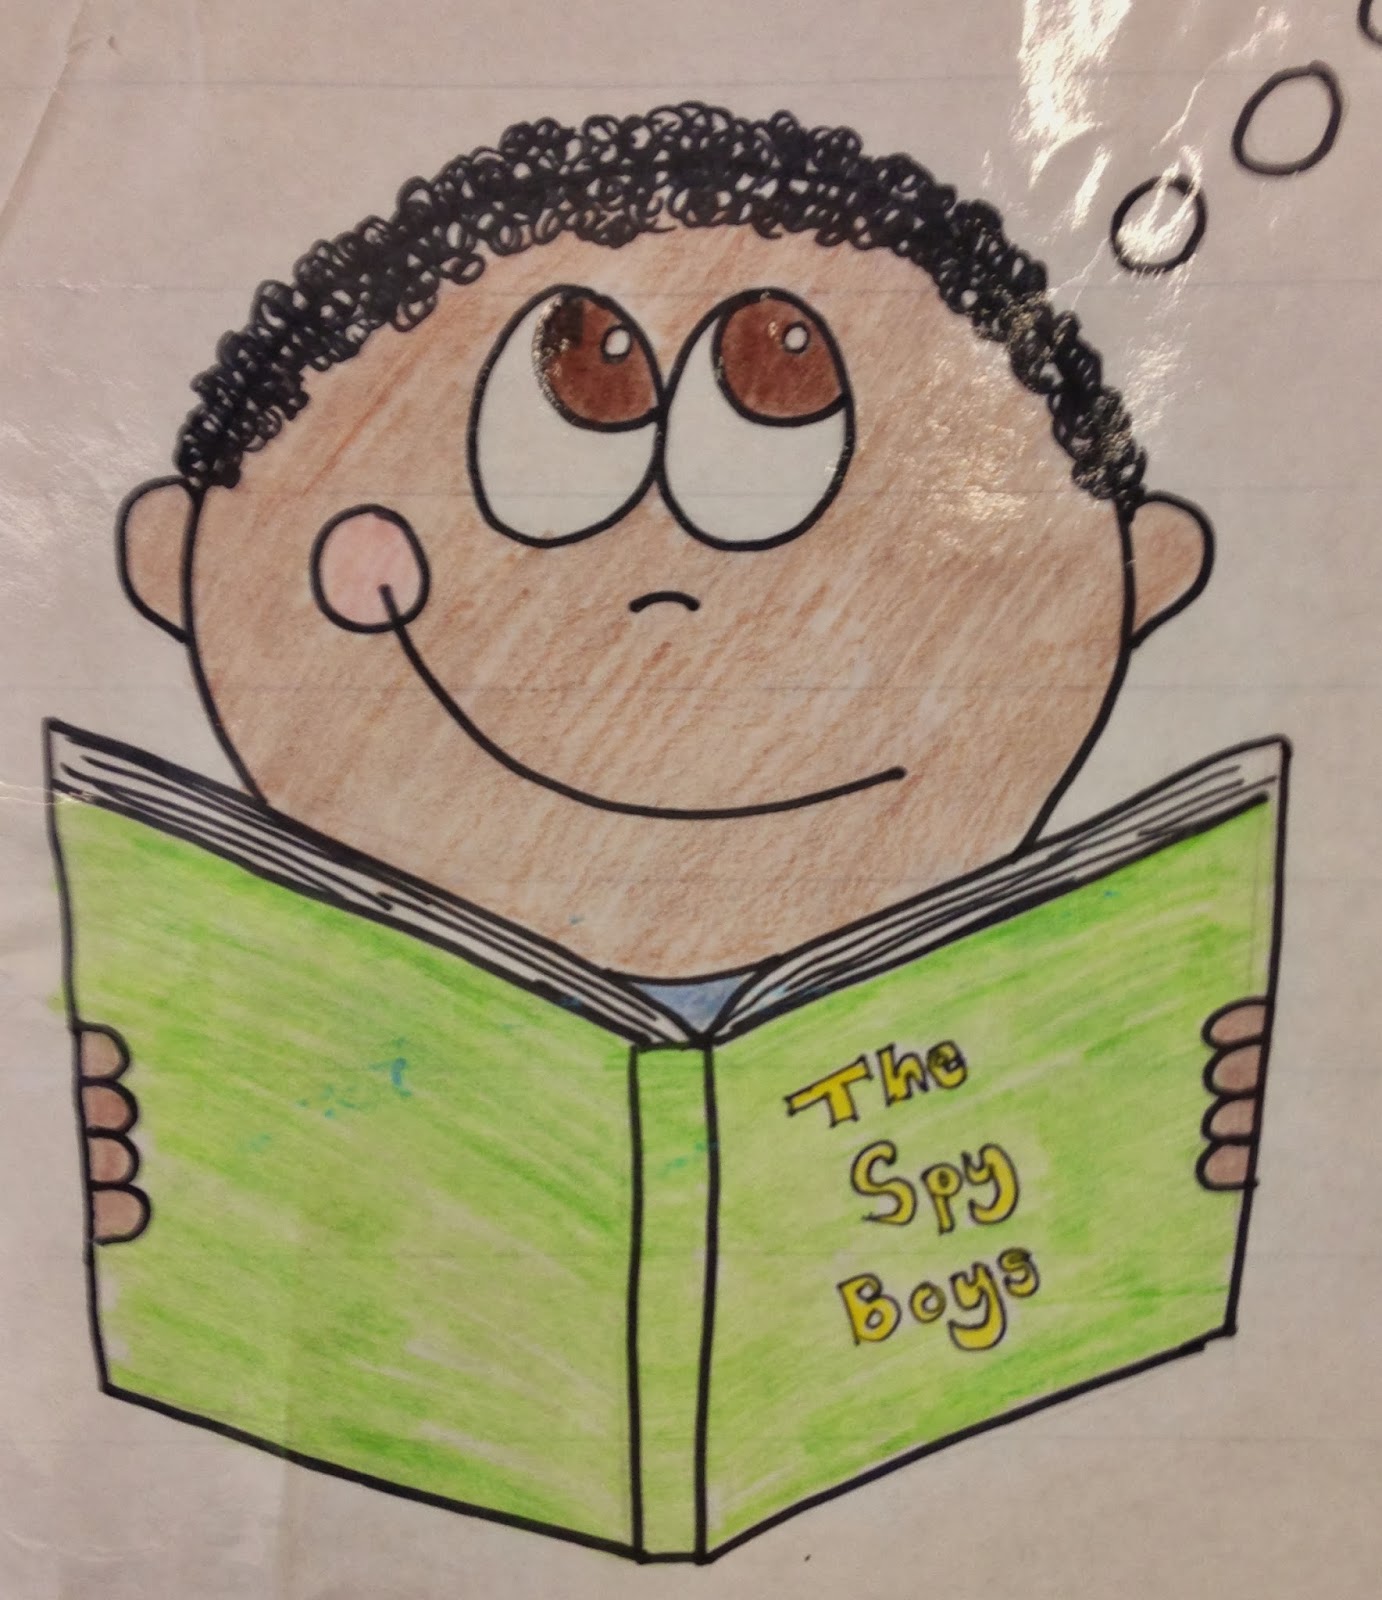
The little boy I drew on my Self-Monitoring anchor chart last year. I love it because last week a little boy walked in to my room for the first time ever.  He looked at the poster and with a huge smile and wide eyes said, "That looks just like me!"  My mom is Spanish and darker skinned.  I remember growing up being very aware that none of the families in the books we read in school ever looked like my family. Never mind actually having posters in my classroom that were culturally diverse.  It made me very happy to have that little boy come in and immediately find something he could identify with.  Even if it is just a cartoon drawing.


Pumpkin chair covers from Dollar Tree.  A little bit of Halloween fun.

My picture book shelf.  These are just a few of the picture books I use.  In fact, I'm still looking for a box of picture books that must be tucked away on a shelf.  I have one in particular in mind that will be perfect for one of my students, Bad News for Outlaws.  I  know it will totally hook my reluctant reader friend.  
Now, if I could just find it!

So, that's the room this year.  
~~~~~~~~~~~~~~~~~~~~~~~~


So far, I like it.  It has a lot of helpful information for those not totally comfortable teaching small groups or without a lot of experience teaching reading this way.  However, even being experienced with it, I am also  finding a lot of good tips.  I'll try and post more about it when I'm done.

Hope your school year has gotten off to a great start!

Wednesday, August 28, 2013

A Project and Some Bookmarks

So, I mentioned in my last post that I was going to tell you about a project I completed inspired by a picture I saw on Instagram.  It was actually a craft project done by Hope King over at Second Grade Shenanigans. I love her blog.  She makes so many great printables.  In fact, Hope made the Good Reader posters I used for decorating outside my door this year. It was the project picture I saw on her Instagram page that led me to her blog and the reading posters.  But, back to the project.  Here is what my final project looks like!

Totally inspired by Hope's masterpiece. . . 


A pretty good match I think! When I saw Hope's pictures, I knew I had to do it. The READ display fit right in with my literacy themed room.  I'm not going to give any directions here, because you really need to hop on over to Hope's blog and see how it's done!  After all, she did master mind this project!  I will give one thought.  This took me WAY longer to do than it did Hope.  I mean WAY, WAY longer!  Obviously my crafting skills are not on par with hers! So for me, it was time consuming but worth it.

One of the reasons I like it is because the vibrant colors. . . 

. . . fit right in with the colors of my class library baskets! 

But, you could pick any colors that match your room.
I put the display up high to leave room for anchor charts, posters, and student work.

I will say that one of the things you have to do for this project is cut 24 squares for each circle.  Well, that left me with a lot of scrap pieces.  It turns out that each scrap piece made two perfect bookmarks for my friends.  24 x 2 x 4 = 192.  That's 192 bookmarks!  I used card stock for the project so they are sturdy.
 
I went to the dollar store and grabbed a couple of packages of stickers to fancy them up a bit. I put them on while watching TV one night.  How much school work gets done that way?!   I was going to laminate them, but then I came to my senses rather quickly when I realized that would mean cutting out 192 individual bookmarks.  So. Not. Happening!

Thinking on it more, I realized these are perfect for my guided reading groups as they are and have a ton of uses. The backs and most of the front are blank. These are prefect to have on hand to do things like. . .

  • You can easily write the focus skill/strategy on the bookmark for your friend to have as a reminder when you send them off.  
  • The kids can use them to write interesting words as they are reading.
  • You can write a question for them to answer at the guided reading table after they read a section.
  • A reading goal can be written on the bookmark as a reminder for the student. 
I'm sure you can think of many other things to do with these.  Even if you don't make the project, it would be nice to cut up some colored card stock as blank bookmarks for use in your guided reading groups.  Actually, you could even use small, colored index cards if you don't want to do the cutting.
 So, that's the project and a sneak peak at one area of my room.  
I'm still working on the rest, but getting close to being done!


Monday, July 29, 2013

An Affordable Ikea Classroom

 So, let's start with some blog business.  
  • My apologies for the lack of posts.  Teaching summer school and a serious family illness has essentially eaten up all of my time.  August promises to be just as hectic on the family front, but summer school will be over after the 8th so I'm hoping to be a more productive blogger soon!
  • Yes, I am still looking to redesign my blog.  I know that header has been up there for ages, but it will happen people!  
I know many of you are getting ready to head back to school in August.  I've seen lots of blogs with teachers already crafting, creating, laminating, and decorating.   Honestly, I can't even think about it yet!  We don't head back to school until September 3rd, and students don't start until September 9th.  My head is not yet in back to school mode. Having said that, no serious academic post here today!  :-) 

But, here's one on classroom decorating.

I was in Ikea the other day and found a lot of items that would be great for the classroom.  Thought I would share a few and some ideas for using them.  I'm limiting this post to things that are on the smaller side and affordable. Yeah, I would love to buy all new Billy bookcases for my classroom, but that's so not in the budget! Mine or my school districts!  So, here are some smaller items that can add a little color, fun, and function to your classroom without busting the budget.  See if you can guess which is my favorite item that I may have just purchased more of than I will probably ever need!  By the way, all images are from Ikea and this is not a sponsored post.  Just some things I like and think you will, too!  But, Ikea if you are out there and want to throw some Billy bookcases my way. . .Just kidding!!! 

Okay, here we go. . . 

This is the Hopplek rug.  It's 2' 7" x 5' 11" and only $12.99.  I think this adorable for the younger grades, but the measurements on the side make it great for upper grades, too.  This would be great in front of a math center area.   Kids could toss one or more bean bags and then create a math story using the numbers or measurements they land on.  I also think it would be a good game rug. I'm sure you can think of even more to do with it!
This is the Hampen rug.  It measures 2' 7" x 2' 7" and is $9.99.  These rugs would be great partner rugs for smaller friends.  You could have them rolled up in a basket, and when it it time for partner reading they can just grab a rug and find a spot.  For your older friends, it might fit only one.  It also comes in a couple of other colors.

This is the Fargglad chair.  It's a child's chair, so it is a bit on the smaller side.  It's $14.99.  The chair back and seat are woven plastic, so easy to wipe down if needed.  It is also stackable, so if you get some for a guided reading table you can easily stack them and move them aside when not in use.  But, in keeping the affordable in mind, I was thinking of what could you do with just one chair. It would be a great author's chair, special seat for the student of the day, a birthday seat, etc.  You could even doctor it up a bit with some ribbons to make it extra special.


This is the Tolsby frame.  It holds a 4" x 6" picture, and they are only $0.99 each!  There is no back, so you can put two pictures in each frame.  They are made of plastic, so perfect for the classroom and clumsy people like me!  These would be great for classroom signs, activity directions, library labels, and a ton of other things.
The Rigga clothes rack is $12.99.  When I saw this, I thought it was an inexpensive answer for anyone in need of a chart stand.  All you would need are the rings or some clips to hold your charts on the top bar.  I even like the rack on the bottom because you could put a few baskets on it to store materials for your charts. That would probably also help make it a bit more sturdy.  And, it's on wheels!
Here is the Dokument wastepaper basket in pink.  It is $3.99 and also comes in silver.  I actually bought this last year for my desk.  Our school does a great job of giving us those big, round, gray, plastic trash cans and recycling trash cans, but I wanted something smaller by my desk that wouldn't be filled with students' tissues and other icky stuff!  It is made of steel and fairly indestructible.  Ikea doesn't give its measurements, but it is on the larger side as far as wastebaskets go. For $3.99, you could also use it for holding project materials, books, or a few of those Hampen rugs. :-)
These are the Kvissle clip-on bookends.  You get a set of two for $4.99.  I love these because they clip on to the shelf.  No more falling over books and bookends when someone takes a book and the bookend moves.  What I love even more is the wide bar that faces you once you clip it on.  It's just made for a label. You could print out genre, alphabetical, or leveled labels to put on the bookend.  It would not only separate the books, but it would help in organizing your library while giving your friends a clear visual.


These are the Kusiner storage baskets, and you get all three for $4.99.  I have a similar set of baskets, but they aren't as nice as these.  These baskets have a soft coil in between the fabric, so they collapse for easy storage.  When you need to use them, just unhook the loop and they will spring right back into shape.  They are about 7" high and are great for handing out small materials to groups.  Unlike mine, these have numbers on the front that helps with identifying the groups just by having the basket on the table.  If you needed more than three baskets, you could always get two sets and put an A and B on the numbers with a Sharpie.  They are also great scrap baskets for the table when everyone is cutting and you don't want a constant parade to the trash can.

The Riso chair pads come in assorted colors for $3.99 each.  These would also make great floor seats for your friends if you don't have a carpet.  They are non-slip as the underside has anti-slip dots.  These remind me of the sit-upons I made when I was a Brownie back in the day.  In fact, the Crafty Texas Girls blog has a tutorial on how to make a sit-upon using newspapers and a vinyl tablecloth.  That's how I remember doing it!

Tins!  These are the Nidelva storage tins, which come as a pair for $3.99.  No grand plans for these, but they are cute.  And, who couldn't use a cute storage tin for erasers, paper clips, or anything else you can think of?

And finally, it wouldn't feel right if I didn't mention the Flyt magazine files!  You can't beat 5 for $1.99.  I use these as book baskets for my friends' independent reading books.  I actually picked up striped ones from Ikea a couple of years ago, but I like the plain white.  As a back to school activity, you could have your friends decorate and personalize the box to tell about them as a reader.  They could draw pictures of their favorite book characters and book covers or pictures of things they like to read about.  It just might be a fun way to get them excited about filling their book box.  I have reused my striped files/boxes for a couple of years, but for the price I wouldn't having a problem letting my friends personalize one for their own.  I did find putting a strip of book tape on the bottom of each to be a good idea.  Sometimes they can get a bit heavy once all the books are in, and the tape helped them hold up very well.

If you look closely in the picture below, you can see my boxes lined up by the windows. This picture is from a post I did back in 2011 on how I set up my classroom that year.


In looking at that picture, I think maybe one of the reasons I liked all those Ikea items above so much is that they are (almost) all very colorful.  My classroom is usually a colorful place!

After all that I can only hope you have an Ikea near you. :-)  If not, I would bet you could find similar items in craft stores or home goods stores. By the way, my favorite item?  Those Tolsby frames! Love em'!
What has been your favorite back to school purchase so far?

Thursday, June 27, 2013

Gifts and Shopping

So, no posts for a while.  I've been busy teaching with all the end of the year craziness thrown in!  Today, June 27th, was my last day of school.  I don't think they could have kept us in any longer if they tried! Having a heatwave the last week of school didn't make it much fun.

It was odd to visit all my different classes to say good-bye to my friends today.  Usually, I make an end of year gift for them, but this year I had over 75 students.  I did get ice pops for all my classes, because did I mention it was 90+ degrees this week as we toiled away in second floor classrooms with no air conditioning?!  A cool treat in the afternoon was very much appreciated by all.

One of my 4th grade classes did receive a little something.  It was the class in which I teach two subjects and spend a good part of  my day with.  I decided on a fun gift for summer - Super Bouncy Balls!


I was able to find super bouncy balls that were about the size of tennis balls at Five Below.  They came in a bunch of colors and patterns.  Each was put in a cellophane bag, tied with some curling ribbon.  Then, I printed out a poem I had tweaked, printed it on some card stock, and stapled one to each bag.  It was actually much easier and faster to do than it sounds.  I'm happy to say that the kids loved them.  I think this could easily be a back to school gift with a card saying, "We are going to have a ball learning together this year!"

As I sit here tonight, I have to say I am so glad to be on summer vacation even though I'm teaching summer school again.  This summer  I will be working with friends who are moving from third to fourth grade  in September.  I have exactly three free days until I go in on July 1st to decorate my air conditioned (Thanks Goodness!) room.  I went with a star theme this summer.


I had a lot of this in my closet, but I did run to a local teacher store to pick up a couple of things.  Of course, it's never a clean get-away when I go into a teacher store.  I've had my eye on a new product by Carson-Dellosa.  They have put out a common core standards kit for each grade level that has kid friendly "I can" statements for all the standards. 

I purchased the fourth and fifth grade versions and am planning to do a full review for you, most likely posting this Saturday or Sunday. I've been doing a lot of thinking on how this can best be used in the classroom.

For now, I'm off to enjoy what is left of my first night of summer vacation!  See you on the weekend!


Thursday, August 23, 2012

Hallway Decorating and Great Printables

Two posts in one day!  
I know!  
Don't fall over!  
I'm just happy with how my last little 
school project came out and wanted to share.

I spent the last two mornings getting my classroom organized for the coming school year.  Since I don't have a homeroom, there wasn't much to do. . . if you are a normal person.  Which it seems I'm not.  Yes, I changed my bulletin boards and totally arranged the classroom for my nonexistent students!  Even thought I really only use the room on my prep periods, I still wanted it to look nice.  Also, it seems likely that I will be pulling some friends to the room for small group instruction.   I'll show you my new classroom set-up in another post.

Today, I want to share with a great web site that inspired me to use her printables to decorate the outside of my classroom.  Are you familiar with the web site technology rocks. seriously.?  I found the site through Pinterest.  This blog, written by a teacher, has AMAZING printable posters that are perfect for the classroom.   The link above will take you to her printable page of school themed signs.

Using her amazing posters and some sparkly border, this is now the outside of my classroom.

You know I have the gnarly orange lockers outside my room.  They always challenge me to find vertical displays.  I knew I wanted the posters up, but I wanted to connect them in some way.


I got some sparkly border paper and taped two pieces together from the back.  It gave me a nice wide design with cute wavy edges.  I put those on the lockers and wall.  I then printed out color copies of her posters on white copy paper.  Using a glue stick, I attached them to some bright yellow construction paper and laminated them all.


The last step was to stick the posters on top of the border to the wall and lockers.  Easy peasy!  I put two on each locker and three on the wall.  Here's are some up close.

As I noted, all the posters (except for one) are from the blog technology rocks. seriously. I used a couple of them in my room last year, but this year I used a bunch more. And, I didn't even print out all she has.  THIS LINK will take you to her printable page where you will find links for school signs, holiday signs, faith signs, and sonic signs.  Seems she has a thing for Sonic!  All her signs are wonderful!  And, they helped make the space outside my classroom a spot people stop, read, and think!

Don't forget to scroll down and read the professional goals and a winner post I published earlier today.  It really gives you some food for thought as to what is a priority to work on this year.  
And, if you are the big winner Silvia, don't forget to email me your mailing info!